Switching brokers can have significantly more impact than the source of your trips. Credentialing standards, trip identifiers, status expectations, billing requirements, reporting fields, and support contacts might all change with a new contract. That’s why switching NEMT brokers should be seen as a regulated operational cutover, not a simple account move.
There are three steps of a good transition: prepare before cutover, verify the first live day, and reconcile the first one to two weeks. The idea is to keep trips flowing and avoid any disconnect between the outgoing broker’s operations and the receiving broker’s needs.
This guide offers a pragmatic NEMT broker transition checklist methodology so providers can determine who owns what, test the new workflow, close out the old relationship, and ensure billing continuity from the first day of the change.
Why a Broker Transition Deserves a Plan of Its Own
NEMT broker switch without having to modify your dispatch platform. The real challenge isn’t the actual moving of the programme, it’s the operational cutover.
CMS noted that Medicaid transportation programmes can take many various administrative forms, including brokers and managed care arrangements, and regulations might differ from state to state and programme to programme. Providers should review the stated rules that govern the incoming contract rather than assume the new workflow is the same as the old one.
Refer to CMS Guidance on Assurance of Transportation:
https://www.medicaid.gov/medicaid/benefits/assurance-of-transportation/index.html
The best way to switch NEMT brokers is to document what is changing, what is staying the same, who is approving each item, and how readiness will be proved before go-live.
Phase 1 – Prepare for Cutover
Verify Effective date and Ownership
Use one source of truth for dates and responsibilities to begin the NEMT Broker Transition Checklist.
Document:
- Last service date according to the outgoing workflow
- First service date in incoming workflow
- Date credentialing approved
- Owner of trip import testing
- Owner, driving instruction
- Owner-billing validation
- Owner of reporting and reconciliation
- Broker support & escalation contact
Ownership decreases the possibility of crucial work being assumed rather than done.
Trips Dependent on Verification of Credentialing
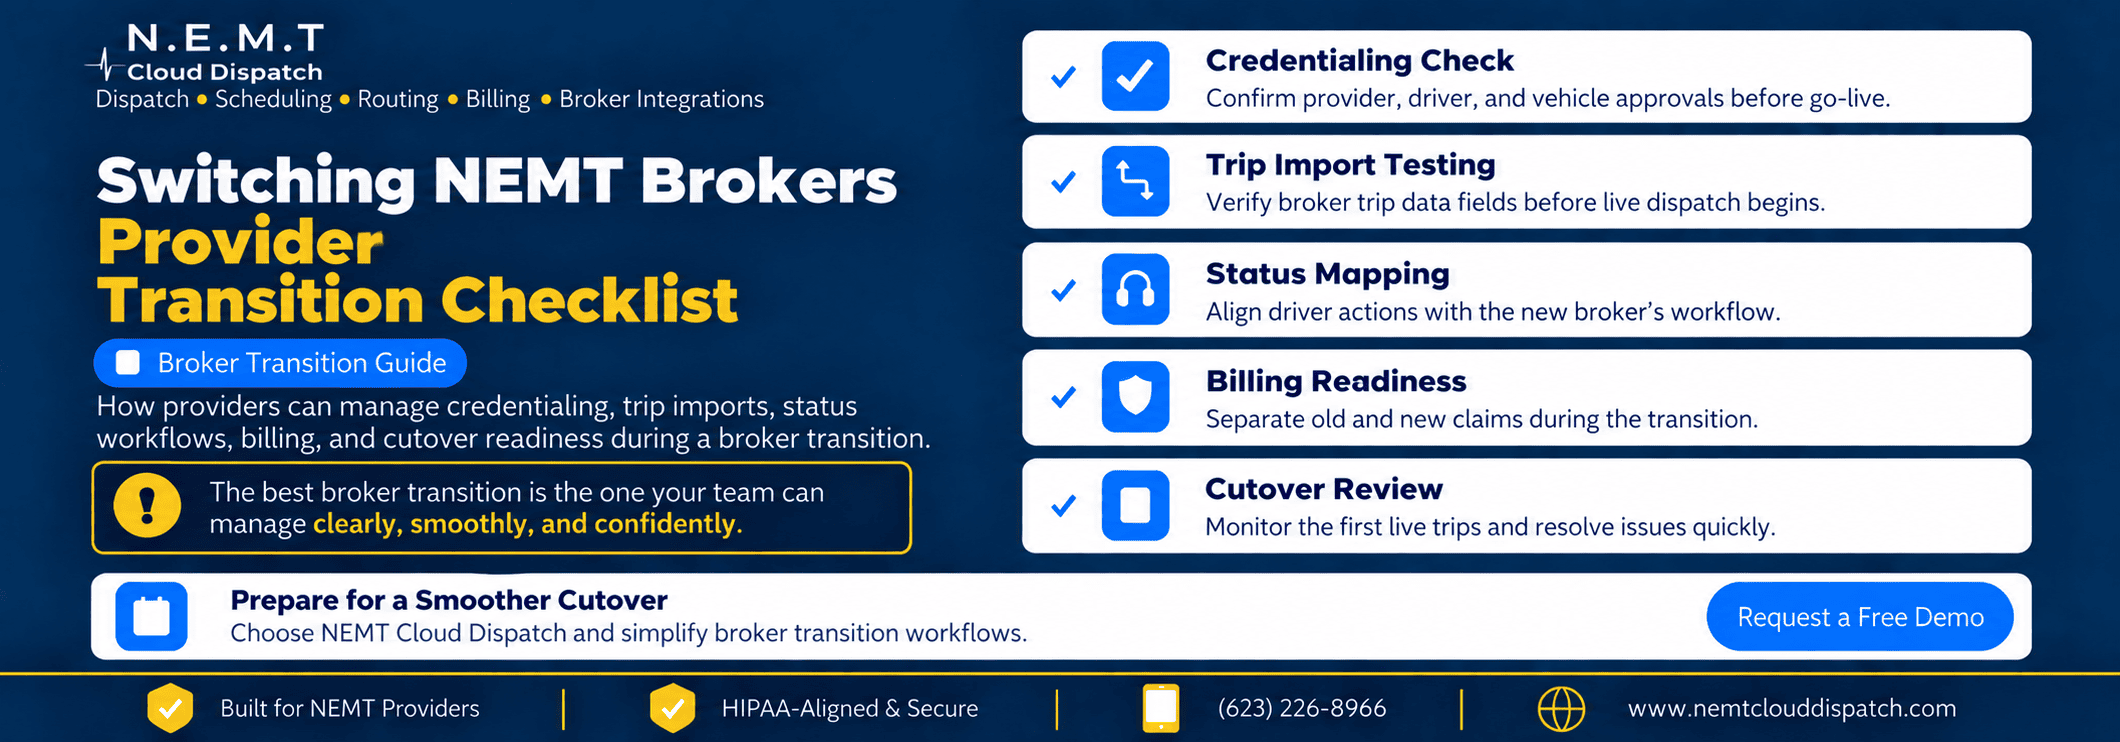
Credentialing is a gating item in a change of NEMT broker. Check that the provider, relevant drivers, vehicles, insurance records, service levels and required documentation are approved for the correct date.
Don’t assume that prior approval automatically carries over. Requirements may vary by state, contract and network and service type.
Test Incoming Trip data
When the fields your operation needs arrive successfully, the new NEMT broker setup is ready.
Test representative journeys for:
- Broker travel ID
- Number of Authorization/Reference
- Address for pickup and drop-off
- Pick-up window and appointment time
- Mobility and service level requirements
- Return travel information
- Driver/dispatch notes
You can find additional details on technical connectivity, supported broker connections, trip imports and status exchange on the NEMT broker integrations site. The main challenge for the changeover itself is if enough real-world scenarios have been tested on the cutover
Map Status Definitions Prior to Driver Training
One of the simplest transition fallacies is to assume that familiar driver actions have the same external meaning following a broker change.
broker status code changes should be documented before training starts. Map each internal activity (accepted, arrived, rider onboard, finished, cancelled, no show, or other exception) to the needed process of the new broker.
Drivers should not need to memorize technical mappings. Add status mapping to the NEMT broker transition checklist and validate at least one normal trip and common exceptions before production.
Phase 2: Secure Billing Prior to the First Claim Batch
Billing validation needs to occur before the cutover, not after a week of trips.
A controlled NEMT broker billing transition should respond to four questions:
- Who is the broker that owns the trips crossing the transition boundary?
- What trip IDs and completion fields must make it to billing?
- Which submission method is applicable?
- Who reviews the first accepted, rejected or rectified claims
Maintain the transition’s focus on cutover readiness. We can figure out the details of claim forms, clearinghouse workflows, and larger revenue-cycle processes independently.
For a detailed look at the billing workflow, read the NEMT medical billing integrations guide
New-Broker Billing Break Out From Old-Broker Closeout
The NEMT broker billing transition should establish 2 different queues.
Outgoing-broker queue may have: unpaid claims, denials, missing paperwork, corrections, final reconciliation. Activity on new contracts should only be in the incoming-broker queue.
This means personnel can’t reapply new regulations to old claims, or process new trips using an old method.
Phase 3 – Control Cutover Day
The day of switching NEMT brokers needs to be a supervised production event.
Check the First Imported Trips
Compare broker assignment to what shows up in dispatch. Confirm trip ids, addresses, service level, mobility needs, pickup timings, notes.
Check the First Driver Statuses
Make that the initial live status updates are received as expected. This is where to validate broker status code changes against real production activity.
Visually Separate New and Old Trips
If both workflows are running during the transition time, dispatchers need to quickly know which rules apply to which trip.
Validate the escalation path
If a trip doesn’t import, a status fails or a billing field is missing, staff should already know who to call.
The cutover-day format is what distinguishes the NEMT broker transition checklist from a generic setup guide.
Phase 4: Balancing the First 7-14 Days
The first live day shows the workflow can function. The next week or two shows it is still reliable at typical volume.
The brief stabilization phase for NEMT broker migration should initially compare broker records with internal records on a daily basis.
Review:
- Assigned trips vs imported trips
- Trips completed vs. broker status records
- No-shows and cancellations
- Authorisations that are missing or do not match
- Initial billing submissions
- Rejected or incomplete records
- Reporting totals
- Old broker claims open
Small faults are easier to correct in the first week than at month-end.
Don’t Change Reporting Definitions During the Change
An NEMT broker change can distort reporting if the old and new broker configured fields or statuses differently.
A cancellation reason, completed-trip definition or status timestamp may not translate well between both workflows. Save outgoing reports and log incoming definitions & note cutover date in internal reporting.
If you are a provider working with multiple brokers at the same time, check out NEMT broker management software for centralised multi-broker operations.
Don’t confuse Broker change with Software Migration
A provider can do a NEMT broker migration and keep the same dispatch platform, driver app, vehicles and internal scheduling procedure.
If the software platform is also changing, that’s a different project with its own data migration, training, testing and go-live controls.
See the guide to switching NEMT software for that process.
The How NEMT Cloud Dispatch Makes Transition a Controlled Process
NEMT Cloud Dispatch combines broker connectors, scheduling, dispatching, routing, driver workflows, fleet visibility, billing and reporting.
In a new NEMT broker setup, that connected environment can also allow providers to evaluate the trip lifecycle from intake to completion rather than certifying each individual department.
NEMT Cloud Dispatch can centralize broker trip imports, operational status updates and broker-specific procedures for supported interfaces, all in a consistent dispatch environment.
The value in a transition is the capacity to check that a trip can travel through the entire operational chain without breaking between broker, dispatcher, driver and invoicing.
NEMT Broker Transition Final Checklist
Verification before go-live:
- Contract and date of effect are on file.
- Approval of provider, driver and vehicle credentials.
- Tested imported goods for representative tour.
- Displays appropriately required trip fields.
- Mapping and validation of changes in broker status code.
- Processes for exceptions to driver and dispatcher are documented .
- The NEMT broker billing transfer test is successful.
- Old-broker claims separated from new-broker claims
- Named owner of 1st day reconciliation.
- First week reporting definitions are documented.
- Brokers are provided with support and escalation contacts.
- The team understands what makes a transition stable.
Use the NEMT broker transition checklist as a living control document until the provider has had enough clean production days to close out the transition project.
Frequently Asked Questions
When should providers begin to transition to NEMT brokers?
Start switching NEMT brokers as soon as you know the effective date and incoming requirements. Full credentialing, testing, training & billing validation prior to the new workflow is critical to daily trip volume.
What is the biggest risk in switching NEMT brokers?
The biggest NEMT broker change risk is presuming the new broker has the same fields, status meanings, credentialing rules, exception workflow and billing needs as the old broker.
What Does an Incoming Broker Setup Need?
A new NEMT broker setup must validate credentials, sample trip data, status mapping, exception handling, billing readiness, reporting, and support contacts before the first day of live service.
What should providers do about broker billing during cutover?
The NEMT broker billing transition should delineate old and new claims, evaluate necessary fields prior to volume increases, and validate the first submissions closely.
Why training alone isn’t enough – you need a transition checklist
A checklist provides evidence that credentials, trip intake, statuses, billing, reporting and support pathways were evaluated. It also assigns an owner for each task.
Make the Change a Managed Cutover
The best technique to manage switching NEMT brokers is to manage the transition as a time-boxed operational project with explicit entry criteria, cutover controls and exit criteria.
A good transition confirms credentials before the service begins, confirms representative trips before going live, separates old-broker closeout from new-broker operations and audits the first live days while inconsistencies are still modest.
NEMT Cloud Dispatch bridges broker workflows with scheduling, dispatch, driver activity, routing, invoicing and reporting so providers may maintain visibility across the trip lifecycle during the shift.
Learn how NEMT Cloud Dispatch can help your team plan the transition, validate the cutover, and keep broker trips moving, without making the shift into unconnected manual operations. Request a Demo